


Chicken Stock 101
the foundational skill for any kitchen

In a kitchen, stock is the most prized possession. Often referred to as liquid gold, this gelatinous and collagen-heavy liquid forms the base of most sauces and dishes.
Bones get roasted hard and fast to get a gorgeous golden color, initiating that Maillard Reaction and allowing the amino acids and sugars to develop those flavor compounds. Then, they’re simmered with veggies and aromatics low and slow to extract all the flavor and collagen.
There is truly nothing like a perfectly made stock, and being able to do is the hallmark of someone who respects food and the effort that goes behind it.
My recommendation is to dedicate a day once a month to this. Make a big batch, freeze it, and have it for whenever you need it.
I like freezing it in a 2-liter container and then cutting it into large blocks once frozen. That way, I can just chuck a block into any dish I need.
Here are all the rules you need to remember:
The difference between a light stock and dark stock.
A light stock is one made with raw bones and veggies. There is no prior cooking before it is placed in the water and simmered. It is simmered for 2-4 hours and has a lighter and milder flavor. This is usually done with chicken bones. It can also be done with red meat bones.
A dark/brown stock is when the bones and vegetables have been caramelized. This is often done by roasting them at 220 C or 425 F. It it roasted without any additional oil as that can cause a greasy stock. It is important not to burn it as that will impart a bitter taste to the stock. Once the bones and veggies have a nice color to them, they are then simmered for 4-6 hours. The color is much darker, and the flavor is deeper/more complex.
Always trim any excess fat from bones and avoid using any additional oil/fat. A hallmark of a good stock is a clear and distinct taste. Excess oil can make a stock cloudy and greasy.
The best bones for this are the ones with the most collagen and cartilage. So, things like feet, neck, wings, shoulder etc. All the collagen and cartilage will break down and result in that jelly-like consistency.
Any water that is added should be cold. Hot water will melt the fat and cause a cloudy broth. Cold water will solidify the fat and impurities and help bring it to the surface, where it can be skimmed off.
Every 40-60 minutes, a small amount of cold water should be added to release any impurities. You should then skim the fat and impurities off the surface. This is called depouiller and should be done periodically.
Never let the stock come to a roiling boil. That causes cloudiness and an unclear taste. A simmer with a few occasional bubbles at the surface is ideal. You don’t want there to be NO movement, as this means the flavor isn’t being extracted.
The common vegetables used are carrots, celery, and onion. Stay away from very pungent aromatics such as ginger, garlic, peppers, etc. This will cause your broth to be very strong and not have a neutral base as designed. You can add these aromatics in when making specific dishes. Also, don’t cut your vegetables too small- you don’t want them to break down and make a cloudy stock.
Don’t use starchy vegetables such as potatoes. These will break down and make your stock cloudy and gloopy.
When using herbs, make sure to only use the stems. The leaves will color the stock green.
Don’t add salt to your stock. Since stocks are often reduced in individual dishes, they will become too salty by the end as the liquid-to-salt ratio decreases.
OK. I think that’s all of them. I had to really think back to what I learned in school and the restaurant.
Now, let me show you how I make my stock! I do a brown chicken stock, but I don’t caramelize the vegetables as I prefer a fresher taste.
Ingredients:
1 chicken carcass, cut in 1/2
1 packet of chicken wings/feet
2 onions, peeled and halved
2 carrots, peeled and cut in large chunks
2 celery sticks, cut in large chunks
2-3 button mushrooms
8-10 parsley stalks (no leaves)
Method:
Preheat your oven to 220 C or 425 F. Take all of the bones and trim any excess skin/fat. Place in a baking sheet and put in the oven. Roast until a deep, dark golden color, usually around 60-70 minutes. Flip it halfway through so both sides get color.
In the meantime, prep your vegetables.
When roasted, put the bones in a large stockpot, making sure not to get any excess fat from the baking sheet in the pot. Add in your vegetables, leaving out the parsley and mushrooms.
Cover completely with cold water and put on high heat.
When the stock comes to a simmer, turn the heat down to low and add in some cold water. The exact amount doesn’t matter, just around 1 cup/250 ml.
Skim any of the impurities from the top of the stock into a bowl. I like keeping a bowl and a slotted spoon on the side for this. Add in the mushrooms and parsley stalks
Keep the stock at a simmer (a few small bubbles breaking the surface of the stock) for 4-6 hours.
Add in cold water every 40-60 minutes and repeat the skimming process.
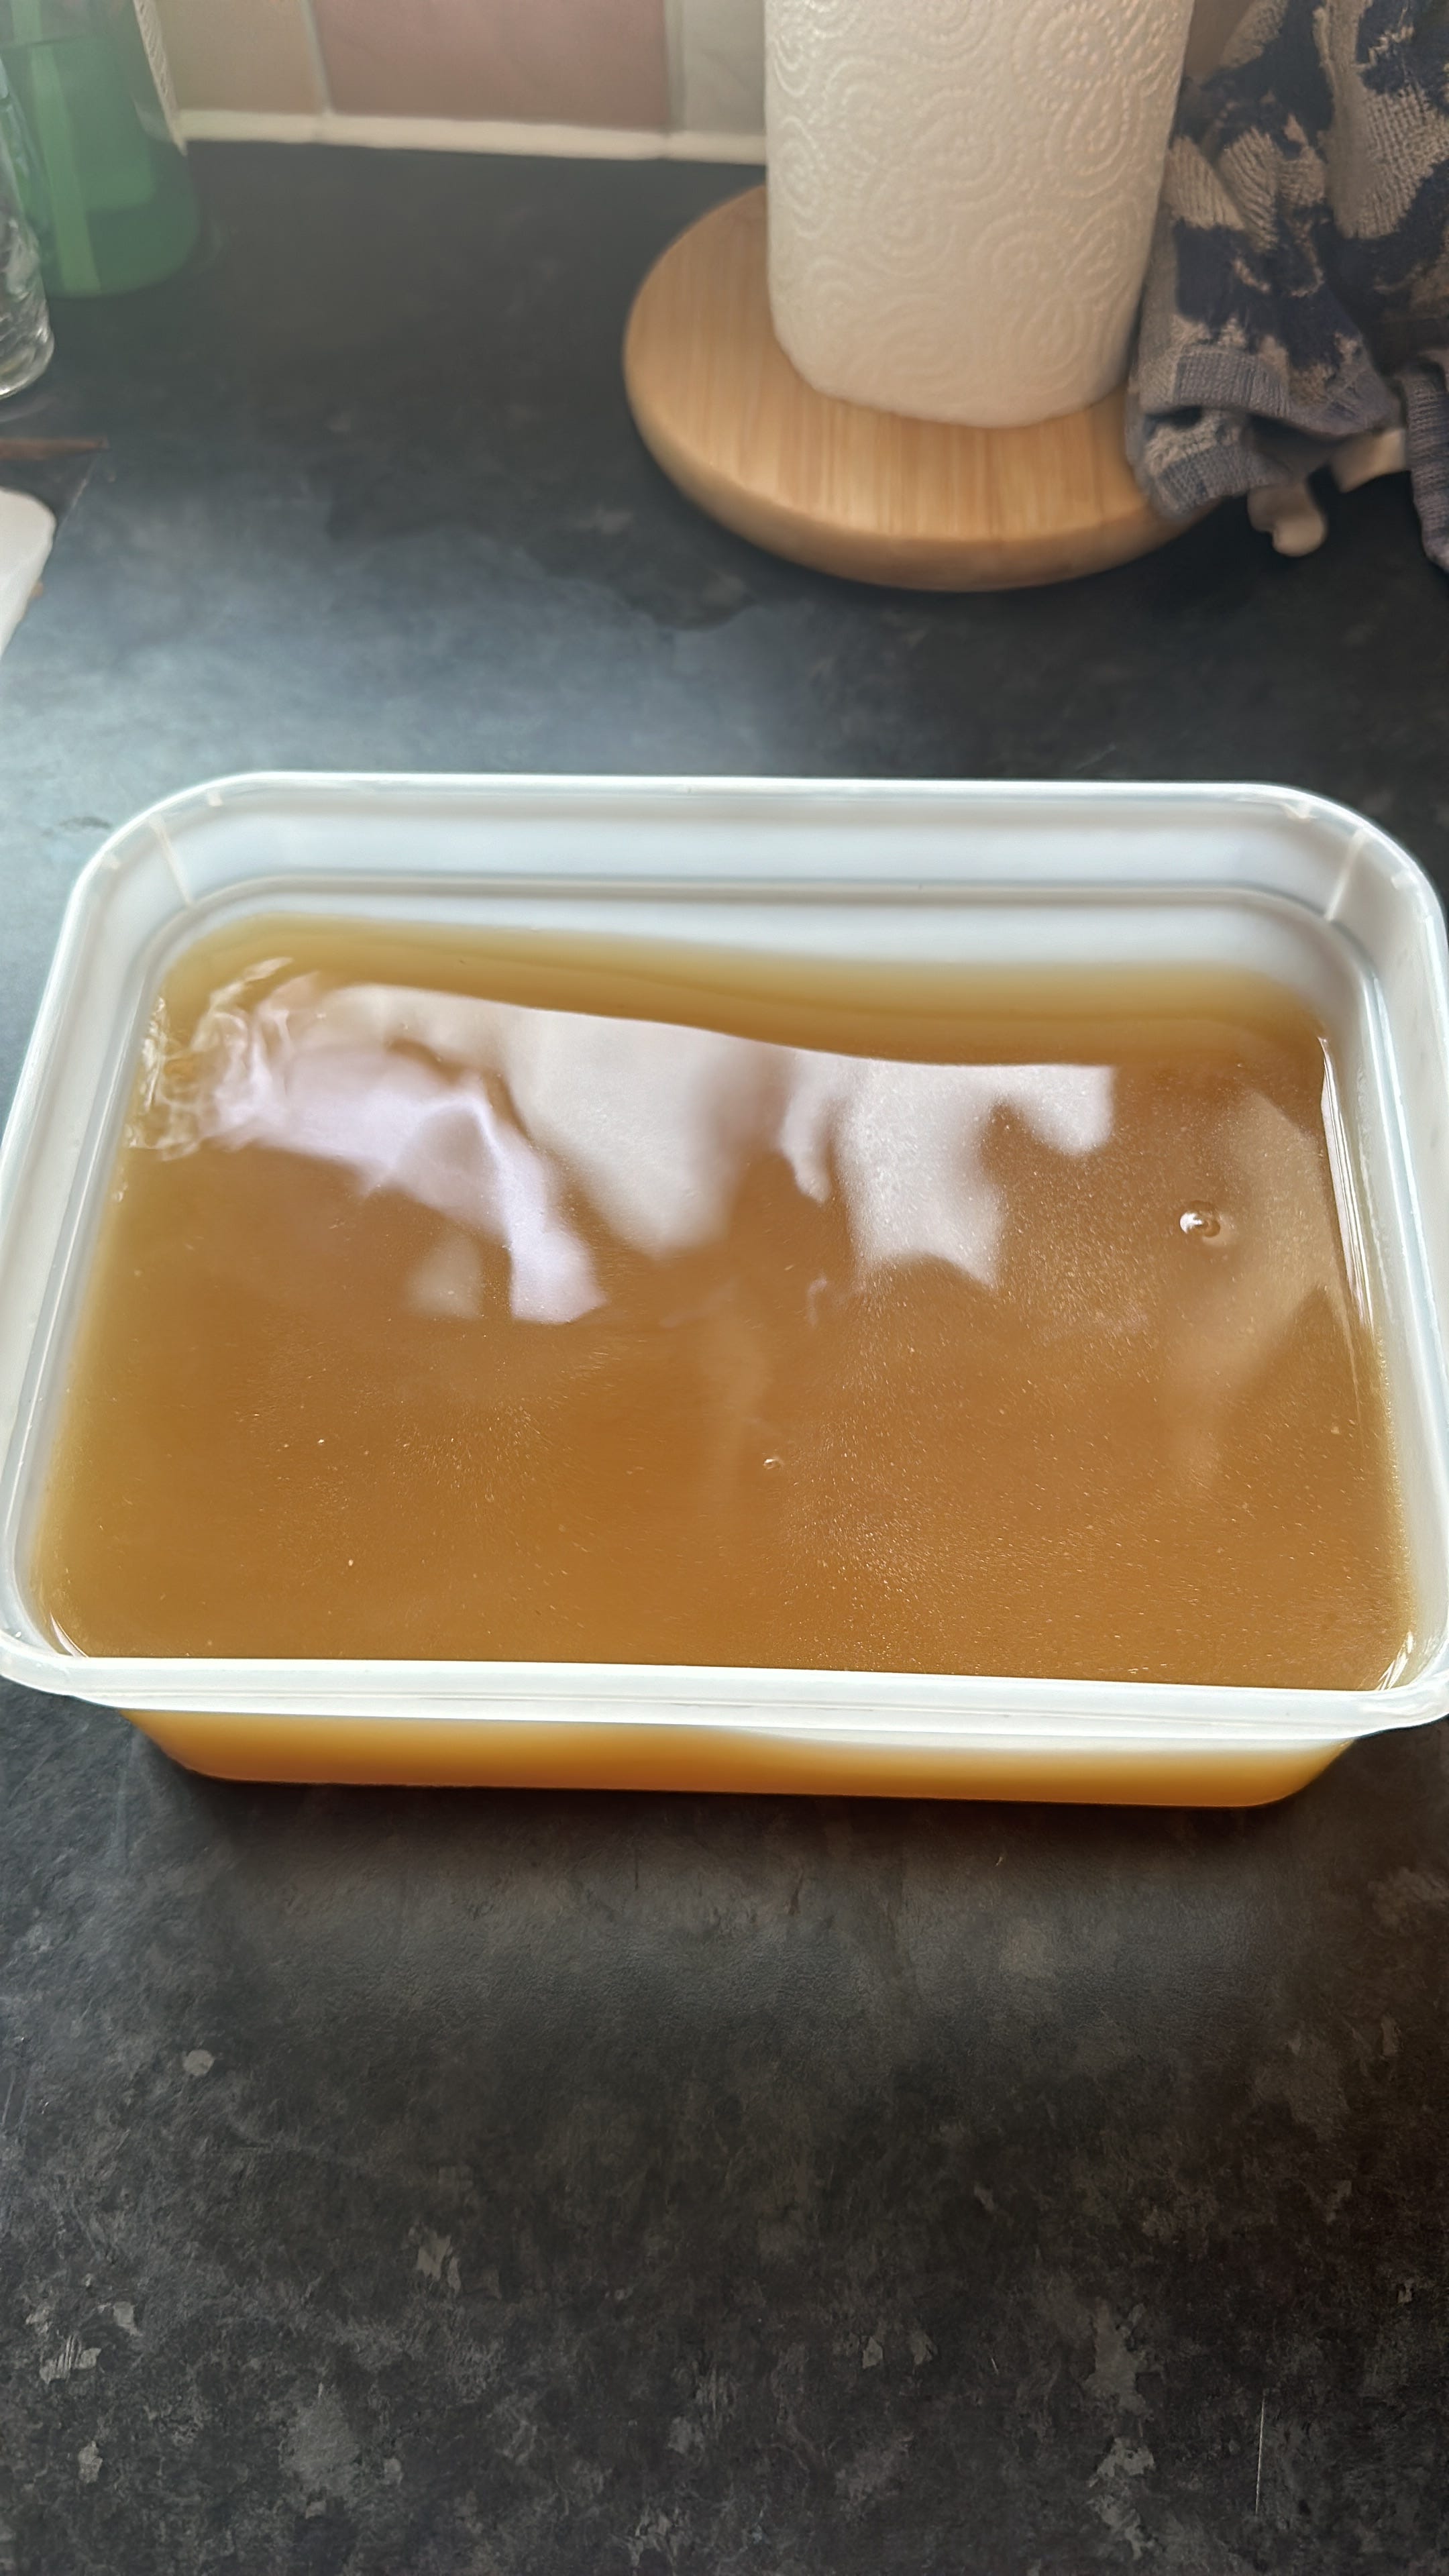
After 4-6 hours, the stock should be a deep golden color and extremely fragrant.
Put a sieve on top of a large bowl, and sieve the stock in. Don’t press the chicken bones and veggies to get more stock- you will just create a cloudy broth.
Let the broth cool completely before freezing.
Keep frozen and use when needed.

Also adding a splash of vinegar to stock as it simmers helps to release minerals from the bones and adds a nice light note.
I’m sure you’ll say it’s “cheating”, but thoughts on making chicken stock in an Instant Pot (pressure cooker)? I think I get good results, but it’s usually fairly golden brown, rather than the light yellowish color of your pics.
I usually let it pressure cooker on high for 60 mins then naturally release the pressure, but use the same general ingredients as your recipe.