

As a South Asian, few things are a better marker of authentic desi cooking than the perfect roti. Roti, or chapati, is an unleavened flatbread made from atta, a stone-ground whole wheat flour that utilizes the entire grain, giving it a higher protein content and distinct flavor.
I set out on making roti and while I thought my first few attempts were pretty good, I was quickly humbled by people in my DMs. So, my ego was a little bruised but my spirits were high, I set out to incorporate all the tips I got from people to get the perfect roti.
I hope you try this out and also find success!
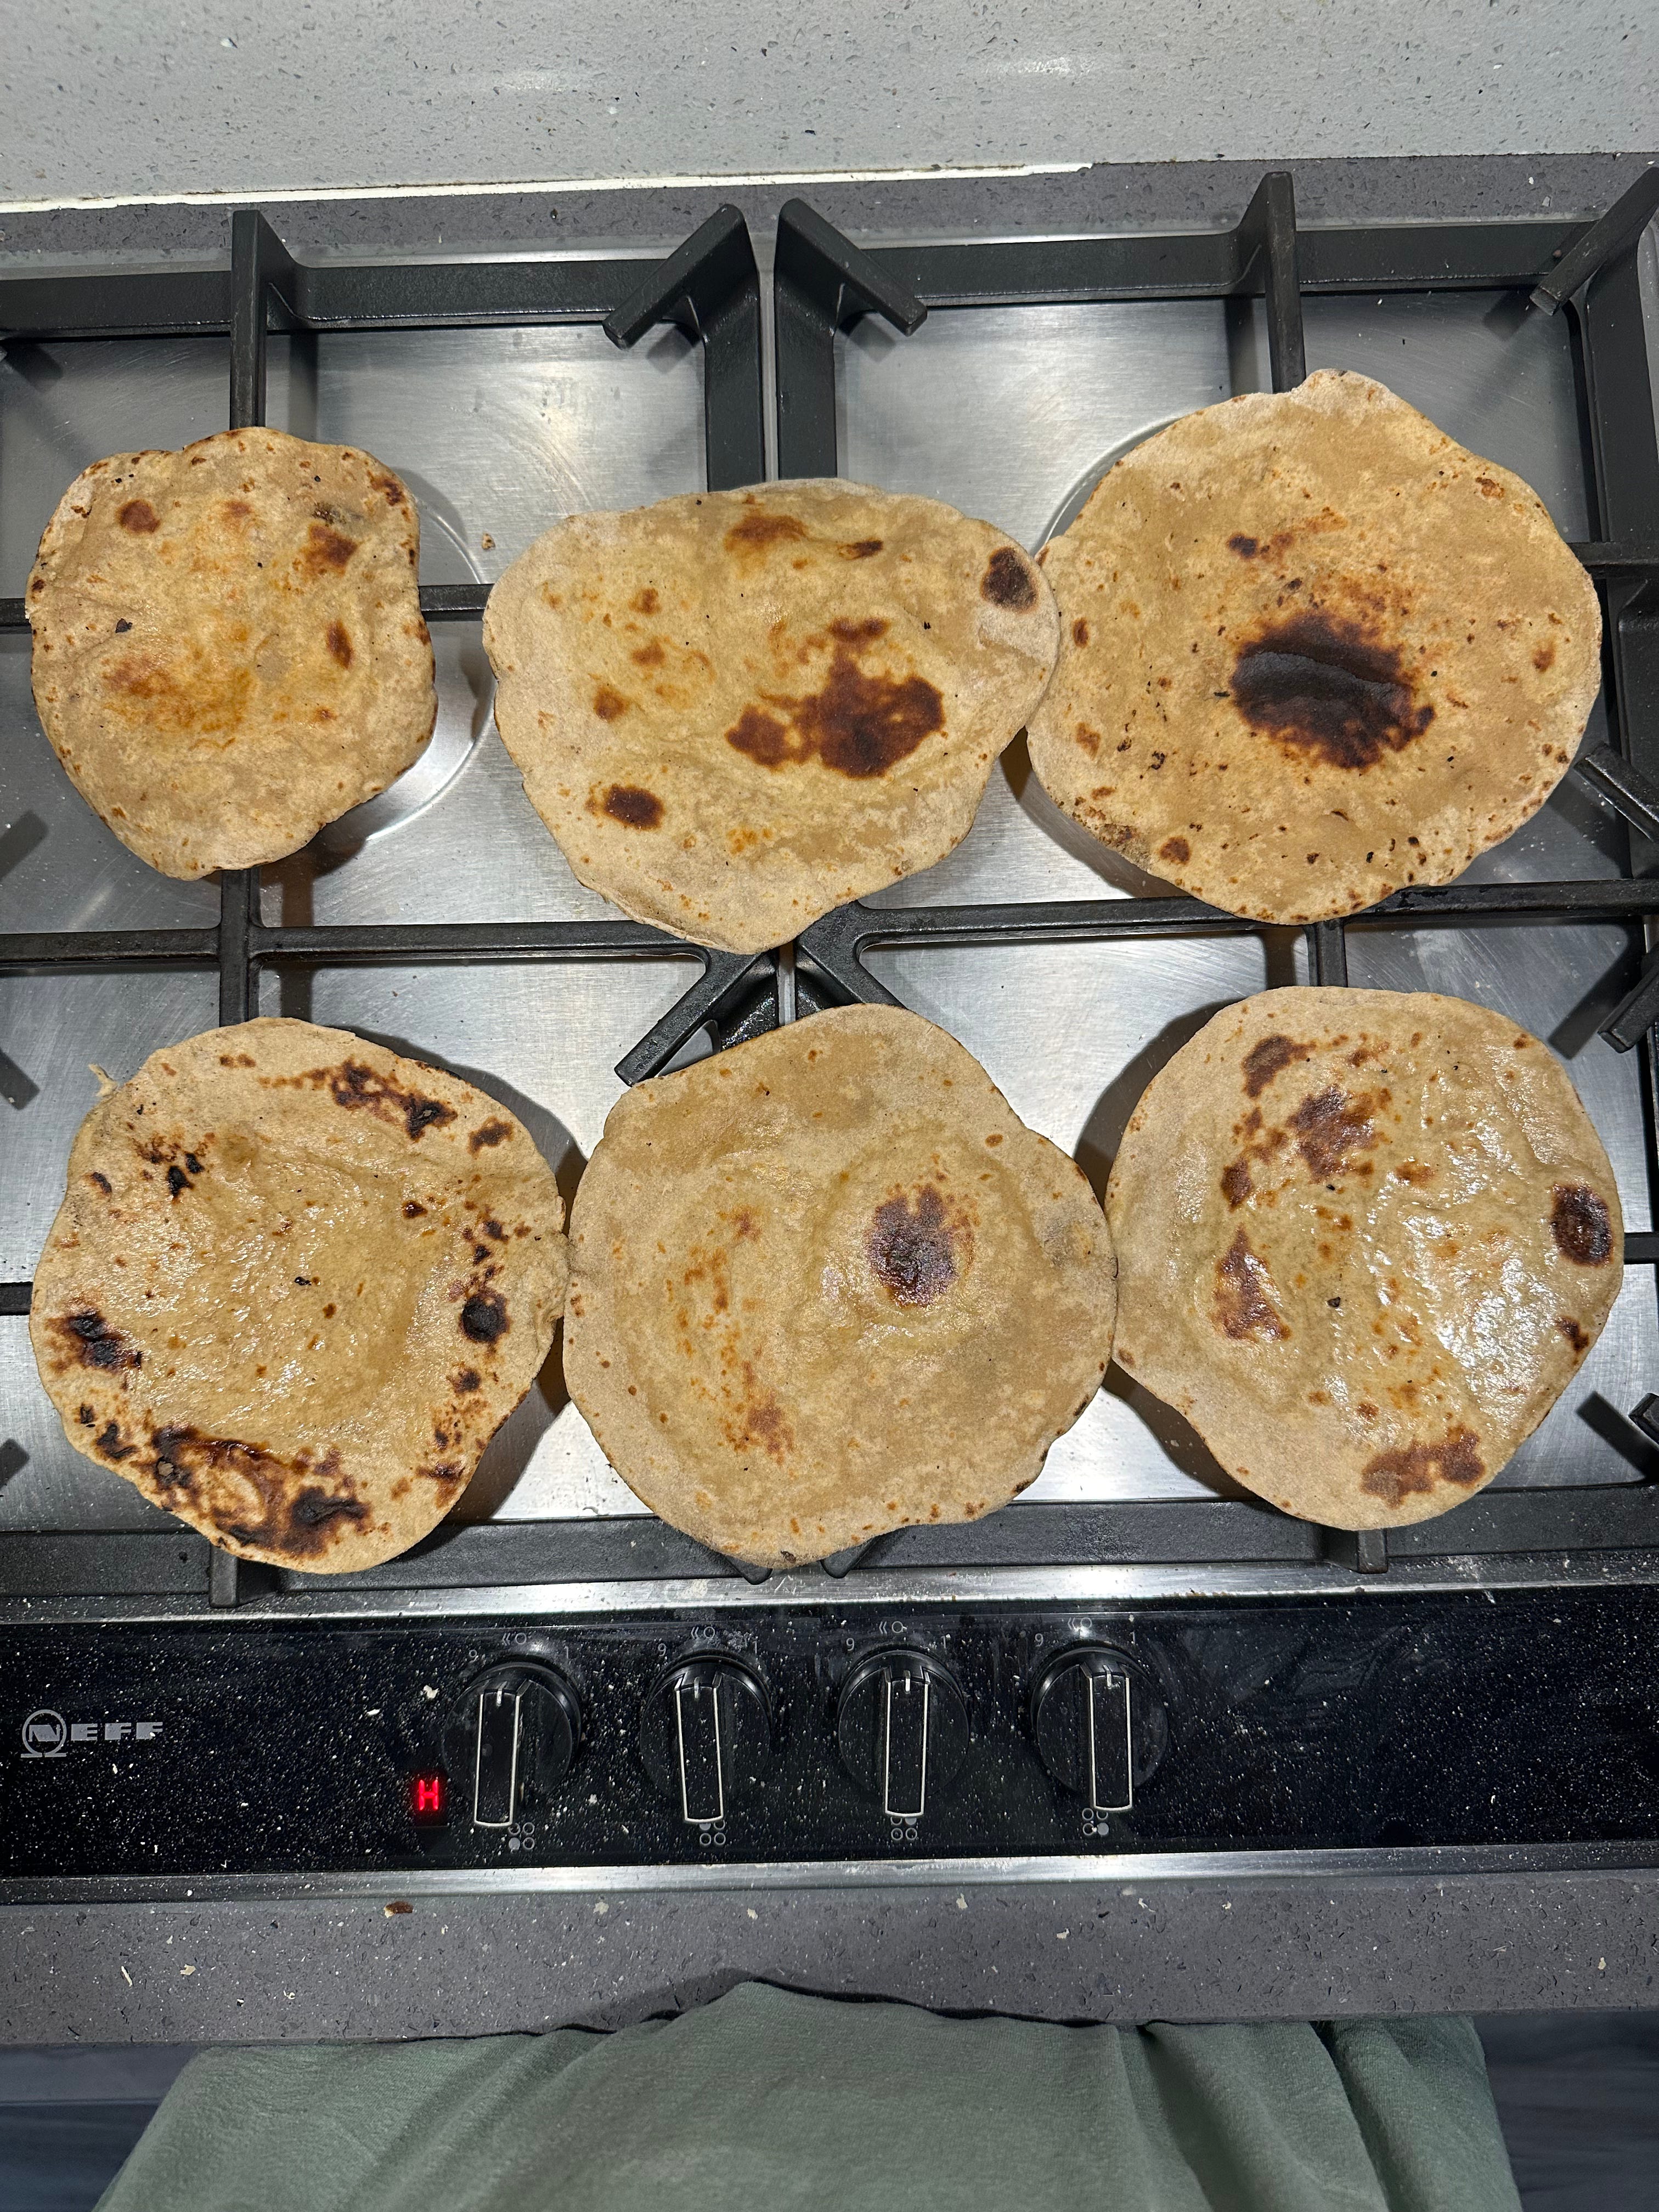
My first roti versus my last (there were a few more I mightttt have eaten during the cooking process)
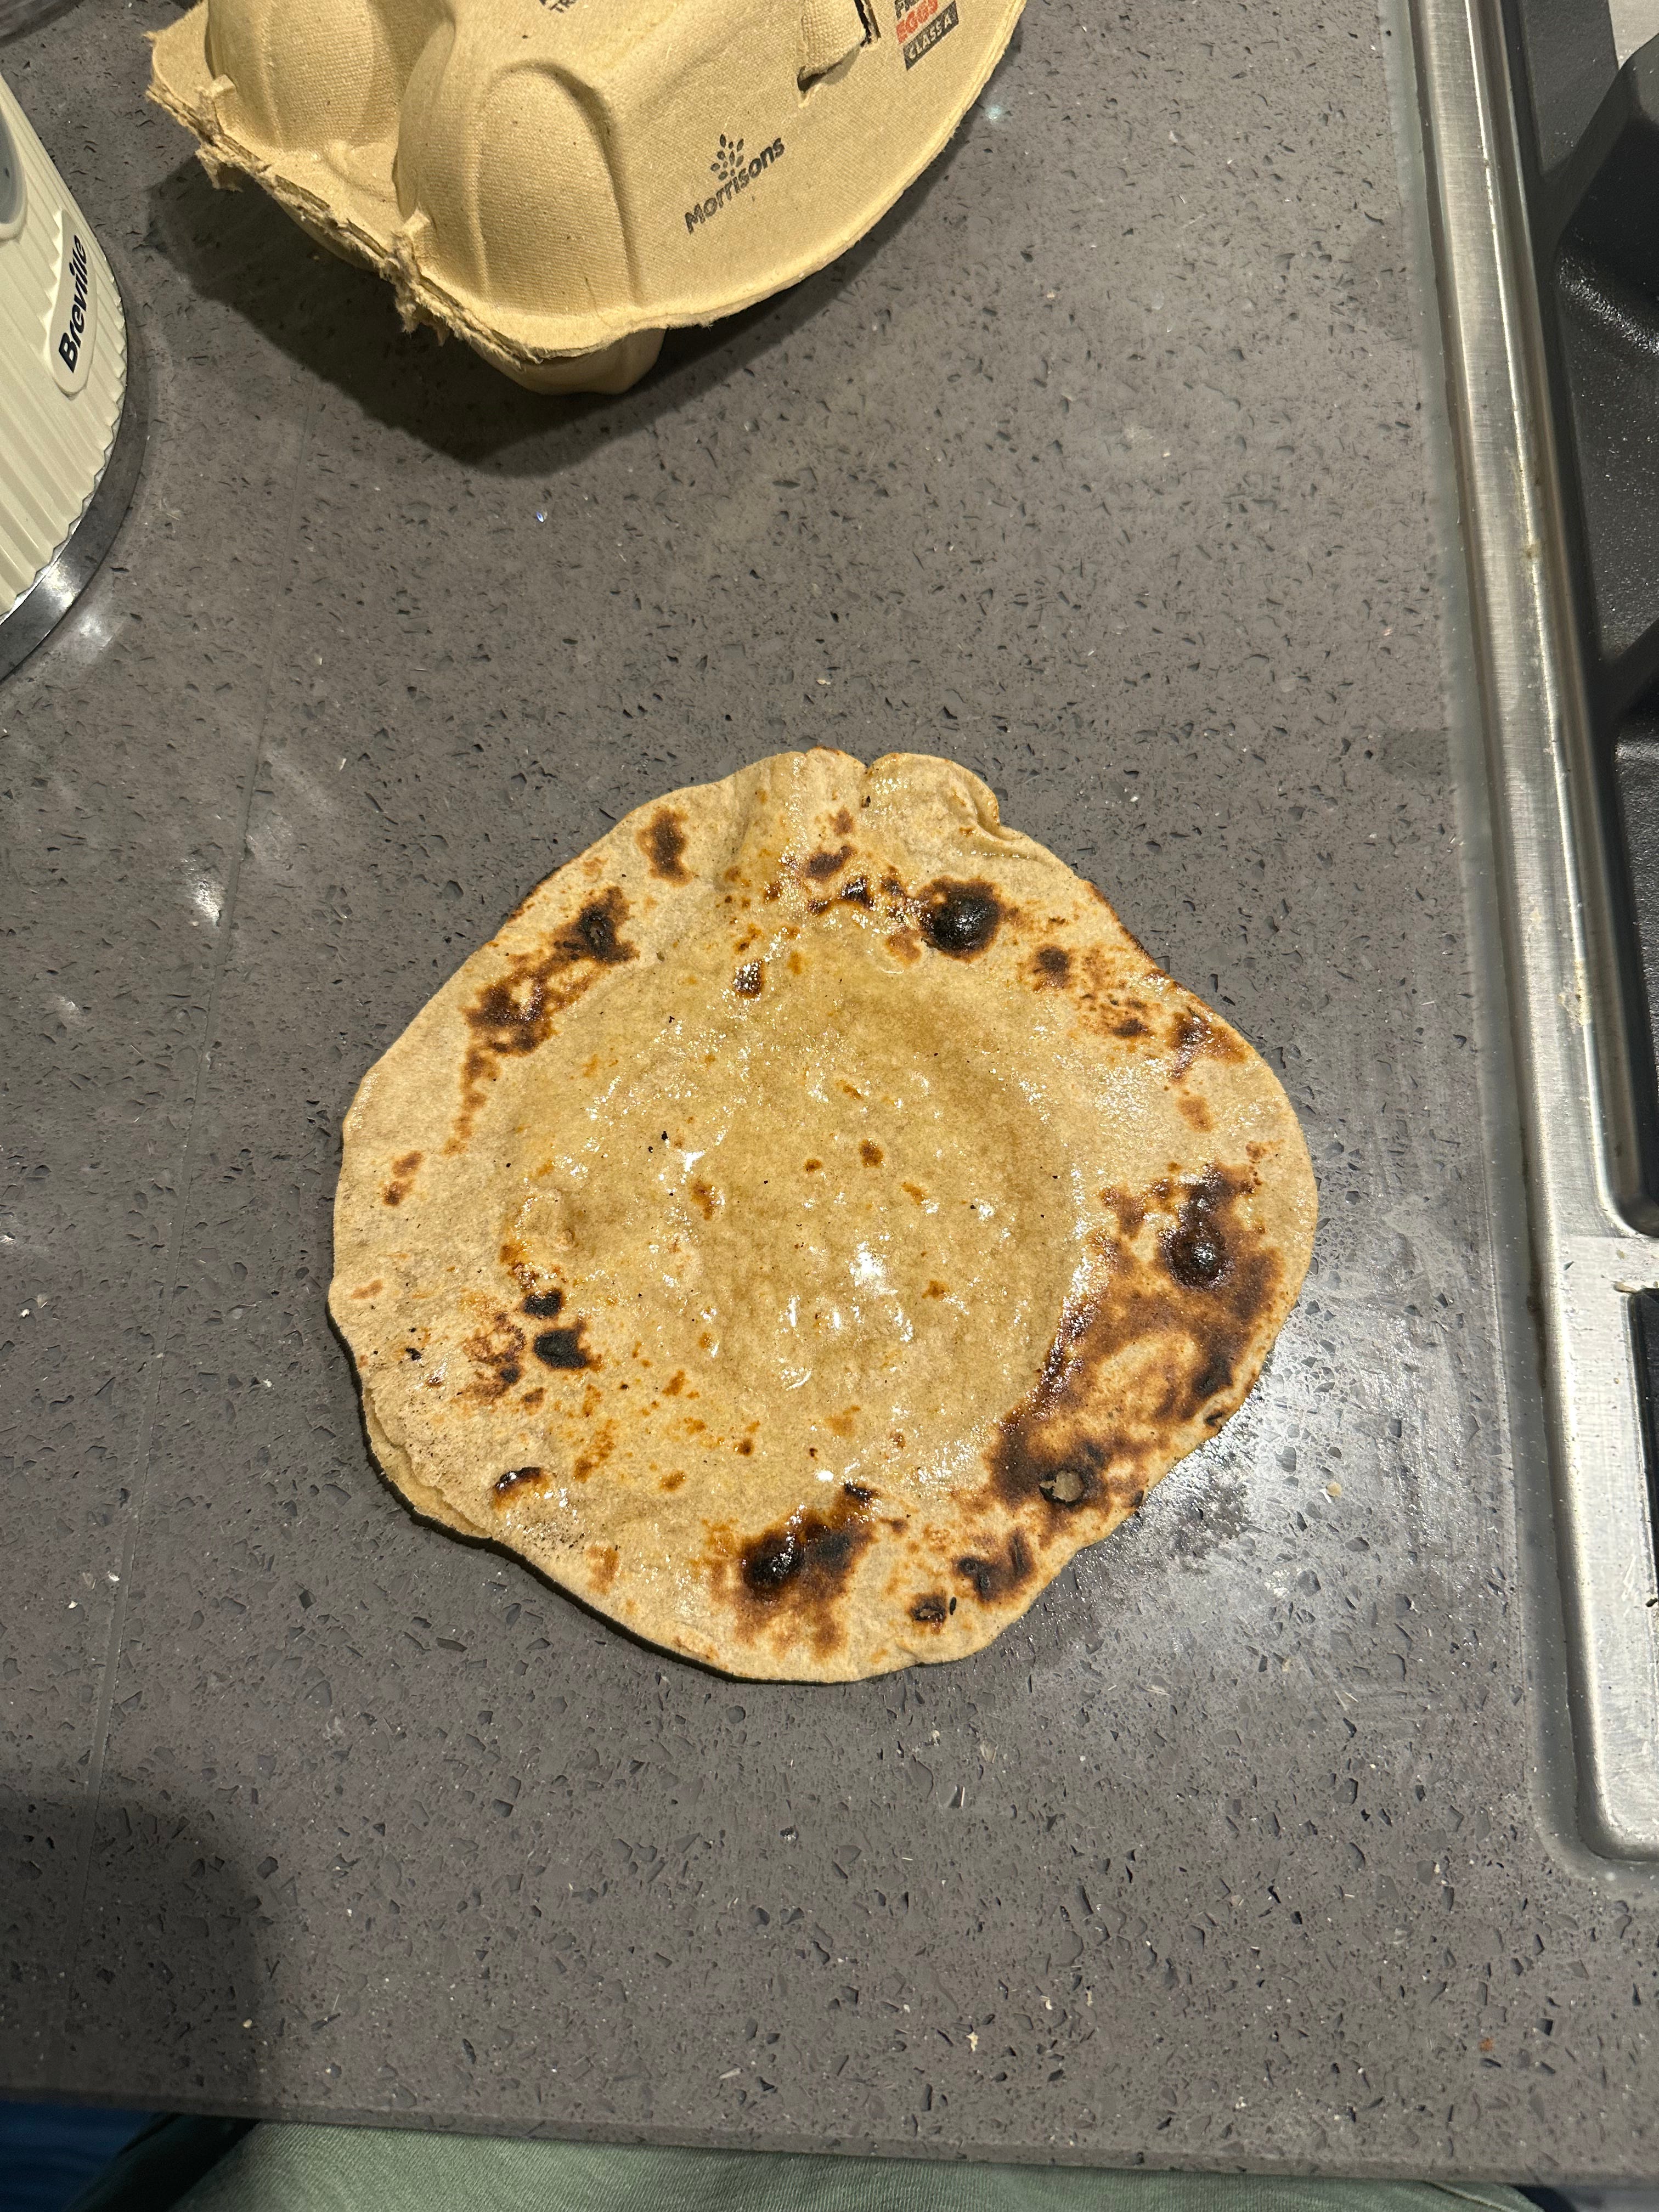
Don’t worry if you can’t get it round the first few times, I can’t either!
Ingredients:
250 grams atta
260 grams of boiling water (this is what I found the best ratio is but it can depend on your brand of atta. Start with 240 grams).
5 grams fine salt
17 ml oil
Method:
Mix together the atta, salt, and oil. Then, add water. Start with a little less and start mixing the dough. You want a soft and pliable dough. Make sure the water is boiling, as this pre-gelatinizes the flour starches and allows them to become soft and supple.
Once all the water has been added, put it on the countertop and start kneading. Try your best not to add any more flour.
Knead for 7-8 minutes, making sure you are really pushing into the dough and working. This increases the gluten formation which will give it a better bite and make it softer.
Once the dough has become smooth and uniform, put it in the bowl and cover it with a damp paper towel to rest. This will allow the gluten to relax and make it easier to roll out. Rest for at least 30 minutes at room temperature.
Once rested, light dust your countertop with flour and pinch off a piece of the dough ball. I found 55 grams to make the best size roti.
Roll the piece into a ball and lightly coat it with the flour on the countertop.
Flatten it out with your palm, and then start rolling it out with a rolling pin.
You want a fairly light touch while doing this.
Roll it out to an even thickness, you don’t want it so thin that it is translucent but you don’t want it so thick that it’ll be chewy. Also, if it’s not evenly rolled, the roti will be unable to puff up.
The best thickness is 1/8 of an inch but I do it by eye.
Now, you want to heat up your pan until very hot. Traditionally, a tawa is used. A tawa is a wide, flat pan usually made of cast iron and is very heavy. I don’t have one so I used my stainless steel pan. A non-stick won’t get hot enough realistically.
Dust the excess flour from the roti by flipping it between your hands, and then place it in the hot pan.
Let the first side cook for 10-15 seconds, and then as soon as that side is slightly cooked and opaque, flip the roti over.
Let it cook for 30 seconds, then using a clean towel, start gently pressing down on the roti and rotating it. This helps the steam build up and brown the roti evenly. Be careful not to create any holes or rips in the roti as this will stop it from puffing since the steam will escape.
Then when the roti is evenly browned, take it off the heat and put it directly on the flame. I lower the flame at this point so it doesn’t burn.
Rotate it while on the flame until the roti puffs up. Once puffed and golden brown (not charred), take it off the heat and brush it with some ghee or butter. Keep warm by wrapping it in a clean tea towel or a paper towel.
Repeat the process with the rest of the dough.
Enjoy!